Stair risers not only do they give structural support, but they also add to the look of your stairs. Whether you are constructing new stairs or renovating already existing ones, adding Stair Risers is an essential aspect of the process.
Learning About Stair Risers
Before proceeding with the installation, let’s learn some basic terminology:
Riser: The vertical portion between each tread.
Stringer: The side structural support that supports the treads and risers.
Nosing: The tread lip that protrudes over the riser.
Stair risers not only support the tread but also close the gap between steps, providing a neat, finished appearance to the staircase.
Decide how many risers you will have. Typically, there is one riser for per tread.
Cut the Risers to Size
If not using pre-cut risers:
- Mark your measurements on the wood with a measuring tape and carpenter’s square.
- For stairs that are slightly not level or straight, cut the individual risers to fit.
- Sand the edges for a smooth finish.
Dry-fit the Risers
Before the risers are screwed in position:
Cut to fit with a jigsaw or sandpaper as needed.
Tip: If new risers are being installed over existing stairs, inspect for warping or uneven surfaces.
Use Adhesive
Use wood glue or construction adhesive to adhere the riser board’s back. This provides a good bond with the stringers and stops squeaking. Be careful not to apply too much adhesive since too much will push out when installing.
Install the Riser
- You can now put the riser in position.
- Fasten nails evenly spaced along the top and bottom edges.
- Add screws in corners if extra bracing is required, and then fill them with wood filler.
- Wipe away excess glue while wet.
Fill Holes and Gaps
- Complete nail holes, screw heads, or minor gaps between Stair Treads and Risers with wood filler.
- Let filler dry completely (consult manufacturer’s instructions).
- Finish the surface with fine-grit sandpaper.
Seal the Joints
- Seal fills caulk in the joints where the riser intersects the tread and stringers.
- Smooth the caulk with a finger wetted with water or smooth tool for caulk.
- Prevents dust-collecting gap finish and provides smooth finish.
Paint or Stain the Risers
Depending on your finish choice:
If painting:
- Prime beforehand, especially if using MDF or softwood.
- High-grade trim paint for a high-quality finish.
- 2–3 coats with time to dry between coats.
If staining:
If you stain softwood, use wood conditioner.
Stain with cloth or brush, wiping off excess.
Seal with polyurethane to make long-lasting.
Install Tread
If new stairs are being put in, risers and then treads. If the risers are already installed, then repeat the same process to
- Dry-fit the tread.
- Apply construction adhesive to stringer and riser.
- Finish, sand, and fill as necessary.
Final Inspection and Cleaning
Once you’ve installed all risers (and treads) and completed them:
- Inspect for any movement, gaps, or unevenness.
- Re-caulk or touch up as needed.
- Sweep or vacuum out dust and debris.
- Let all finish completely before use.
Other Tips and Considerations
Building Codes: Always Have your local building codes with you. Uniform riser height and proper depth are generally required by jurisdictions for safety.
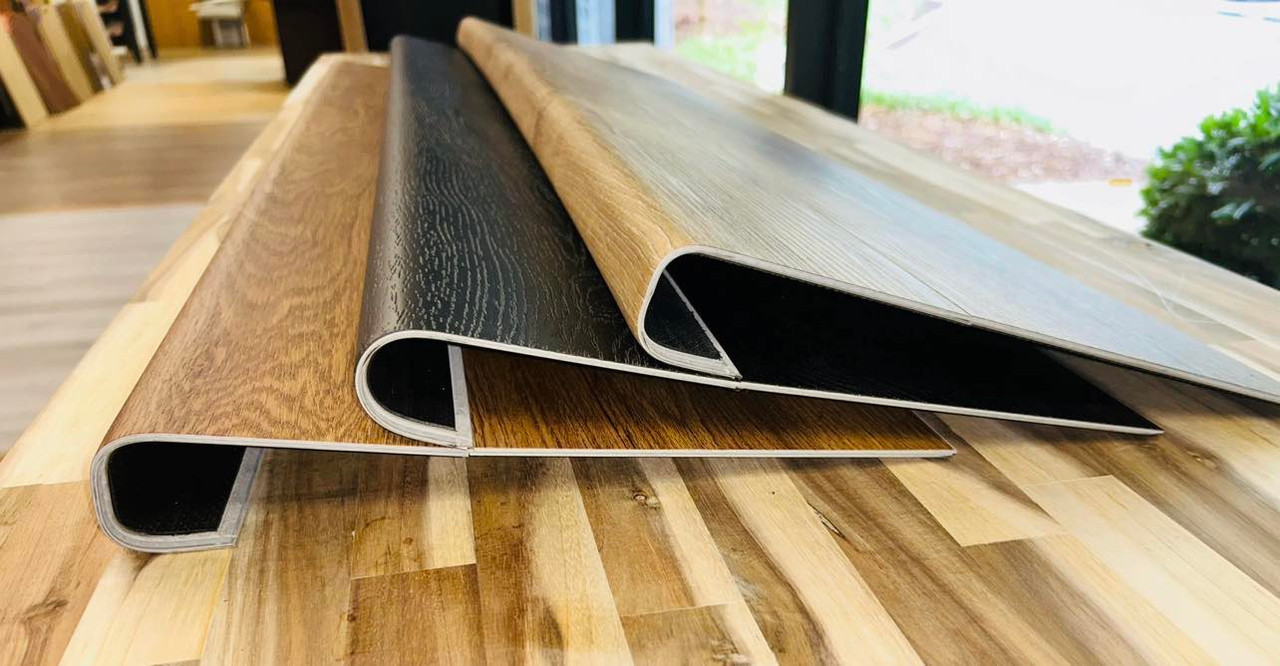
Materials: Painted risers work best with MDF or pine; stain finishes with oak or maple.
Prefinished Options: Prefinished risers, needing to be installed only, can be a time-saver advantage if you have a deadline to meet.
Noise Reduction: Construction adhesive placed behind risers eliminate squeaks due to movement.
Common Mistakes to Avoid
Uneven Risers: Measure the risers correctly—a wonky staircase is dangerous and unsightly.
Skipping Adhesive: Squeaks and movement can be allowed by nails. Adhesive gives long-term stability.
Not Using a Level: Small drift from level or plumb might offer a wonky staircase appearance.
Installing stair risers is a precise job, but the finished product is well worth it. With proper tools, precise measurements, and careful attention to detail, even the most avid DIY homeowner can produce a professionally perfect staircase. Whether you’re replacing an old staircase or building a new one, this step-by-step guide will have your stair risers boasting that beautiful, enduring look. Read This
Keep in mind that every piece of information adds to the beauty and safety of your staircase. Take some time, well plan, and enjoy it.