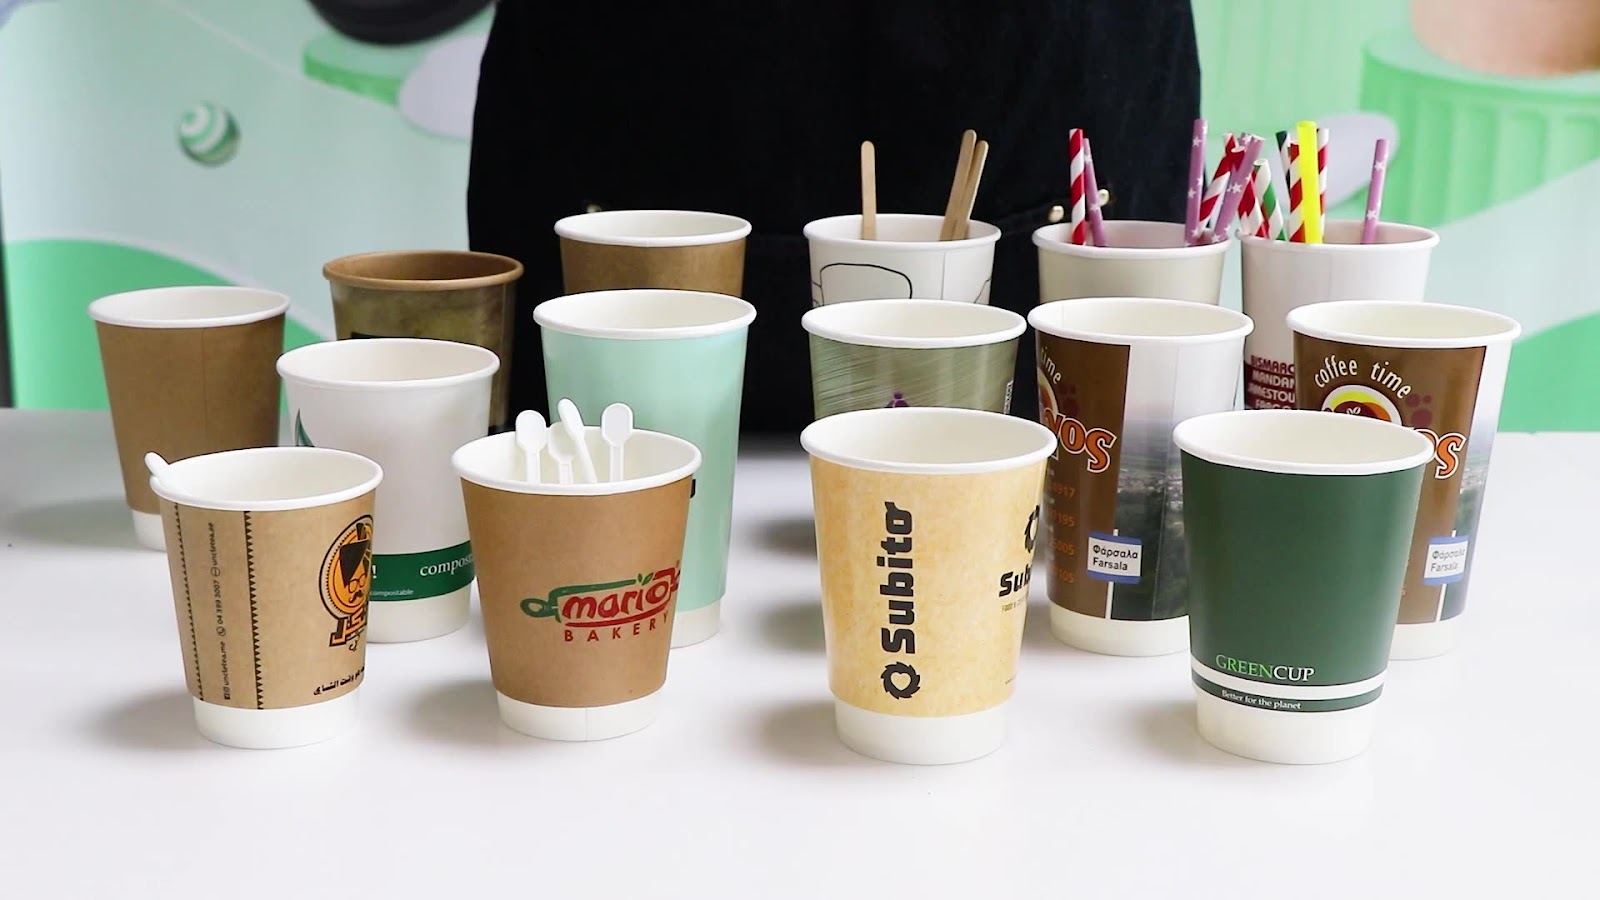
Photo-printed cups are a popular way to make gifts more personal, promote a business, or simply add a unique touch to your daily coffee. Whether for personal use or commercial purposes, understanding how to create high-quality photo-printed cups is essential. The tips and tricks below will help you achieve the best results, ensuring your designs look professional and long-lasting.
Choosing the Right Type of Cup
The base cup you choose plays a major role in how well the photo print will appear. Ceramic is the most commonly used material for photo-printed cups due to its smooth surface and heat resistance. When selecting cups, make sure they are coated with a special polymer layer that allows ink to bind properly. This coating is usually applied for sublimation printing, which is the most effective method for photo transfers.
Avoid using cheap or unevenly coated cups, as these can cause the image to appear faded or blurry. Cups with irregular shapes or textures also pose a challenge for achieving a clean print. For the best result, stick to straight-sided, smooth-surfaced cups. Additionally, ensure the cup is microwave and dishwasher safe if you want the image to last longer. Some coatings may peel or fade with time if exposed to high heat or harsh detergents.
It’s also essential to inspect each cup before printing. Look for chips, cracks, or factory defects that may affect print quality. Even a small imperfection can ruin the final design. By choosing the right kind of custom printed cups from the beginning, you reduce the risk of wasted materials and effort.
Preparing High-Quality Images for Printing
The quality of your final cup depends heavily on the resolution and clarity of the image you use. A high-resolution image ensures the design prints clean and crisp without becoming pixelated. Aim for a minimum of 300 DPI (dots per inch) when preparing your image file. Images with lower resolution may appear grainy or stretched once printed.
Colors also matter. Bright and bold colors translate better onto ceramic surfaces. Soft or light tones may become less visible after the heat transfer process. Also, avoid using overly detailed or intricate designs that may not show well on a curved surface. If you’re working with a photo, make sure the subject is centered and the background doesn’t distract from the main focus.
It’s also a good idea to adjust contrast and brightness slightly before printing. What looks good on a screen may not always translate the same way onto a physical item. Using a template for cup printing can also help you visualize where the image will wrap around the cup, helping you avoid awkward placement or cut-off edges.
Selecting the Right Printing Method
There are several ways to print on cups, but sublimation is by far the most effective for photo printing. It uses heat to transfer dye into the cup’s coating, resulting in a vibrant and durable print. However, sublimation requires special printers, ink, and heat press equipment.
Another option is heat transfer printing, which involves printing the image on a special paper and then applying it with heat and pressure. While this can be cheaper, the quality is often lower and may fade faster over time. Screen printing is suitable for simple designs with limited colors but is not ideal for photo printing due to the detail involved.
If you’re looking to start a small business or sell personalized cups, investing in a sublimation printer and mug press is worth it. This setup may seem costly at first, but the results are far superior. It also allows for better control over your design and quality.
Proper Placement and Alignment of Designs
Once your image is ready and your cup is prepared, the next key step is proper placement. Misaligned designs can ruin the appearance of even the best photo. Use a template to map out exactly where the design should sit. Most mugs have a printing area that does not go all the way to the handle or edges.
When positioning your image, make sure it is centered both vertically and horizontally. A helpful method is to mark the top, bottom, and center points lightly using removable markers or tape. This ensures your design lines up correctly during the pressing process.
Remember that the viewer usually sees the side of the cup opposite the handle when drinking. You can take advantage of this by placing the most important part of the image in that position. If you’re printing on both sides, make sure both prints are placed at equal distances from the handle.
Using the Right Heat Press Settings
The heat press is a crucial part of the process and must be handled correctly to avoid burning or under-processing the image. Each type of cup and ink may have slightly different temperature and time requirements, but general settings for sublimation are around 400°F (204°C) for 3 to 5 minutes.
Make sure the pressure is firm but not too tight. Too much pressure can cause the cup to crack, while too little can lead to uneven image transfer. Use heat-resistant tape to keep the transfer paper in place during the pressing. This helps prevent ghosting, which occurs when the paper shifts and causes a double image effect.
Before you begin pressing, preheat your mug press to the correct temperature. Insert the cup and close the press as instructed by the equipment manufacturer. Monitor the time carefully. Once done, remove the cup carefully using heat-resistant gloves, as it will be very hot.
Avoiding Common Printing Mistakes
Mistakes are part of the learning process, but knowing common ones can help you avoid them. One of the most frequent issues is blurry or faded images. This usually happens due to incorrect heat settings or using low-quality ink and paper. Always use ink and paper recommended by your printer manufacturer.
Another issue is ghosting, which results from the paper moving during the pressing process. Secure it well with heat-resistant tape and avoid opening the press too early. Moisture in the paper or cup can also cause unwanted lines or marks. Make sure everything is dry before printing.
Color mismatch is another problem, especially when the printed result doesn’t match what’s on your screen. This can be due to different color profiles. Use color management tools and calibrate your monitor if possible. Doing a test print on plain paper can also help before wasting a cup.
Finishing Touches for a Professional Look
After printing, let the cup cool naturally in a dust-free area. Once cool, inspect the print for clarity and consistency. If everything looks good, it’s time to add finishing touches. Wipe the cup gently with a soft, dry cloth to remove any residue or tape marks.
If you’re planning to sell the cups or give them as gifts, packaging matters. Use foam or bubble wrap to protect the design. Place the cup in a sturdy box, preferably custom-fit, to avoid movement during shipping. Adding a branded tag or card can also improve the overall presentation.
If you’re making a batch of cups, always label and store them properly. Avoid stacking printed areas together, as this may cause scratches or fading over time. Use separators or soft cloth between each cup.
Caring for Photo-Printed Cups
Proper care helps keep photo-printed cups looking new for longer. While many printed cups are advertised as dishwasher-safe, hand washing is often safer. The heat and detergents used in dishwashers can wear down the printed design over time.
Use a soft sponge or cloth and avoid harsh scrubbing. Don’t use strong chemical cleaners or metal brushes. Dry the cup using a soft towel instead of air drying, which can leave water spots on the design. If using the cup in a microwave, make sure it’s labeled microwave-safe.
Storage also plays a role. Avoid stacking cups with the printed sides touching. This can cause wear or peeling. Always place printed cups upright and separate them with soft padding when storing for a long period.
Conclusion
Creating photo-printed cups is both an art and a careful process that blends creativity with technical skills. From choosing the right cup and preparing high-quality images to selecting proper printing methods and avoiding common mistakes, each step plays a vital role in the outcome. Taking time to align your design, use the correct heat press settings, and finish your product professionally ensures that your cups look stunning and last longer.
Whether you’re making gifts, keepsakes, or planning to sell custom printed cups, following these quality tips and tricks helps you achieve results that stand out. With patience and practice, you can turn simple cups into beautiful, personalized pieces that bring joy and leave a lasting impression.